Can Design Template: Dielines, Bleed and File Specs for 12oz and 16oz Cans
Most proof delays come from the file, not the printer. Here is how a can design template works, how to handle bleed, the neck zone and safe areas on 12oz and 16oz cans, and how to export a CMYK PDF that prints right the first time.
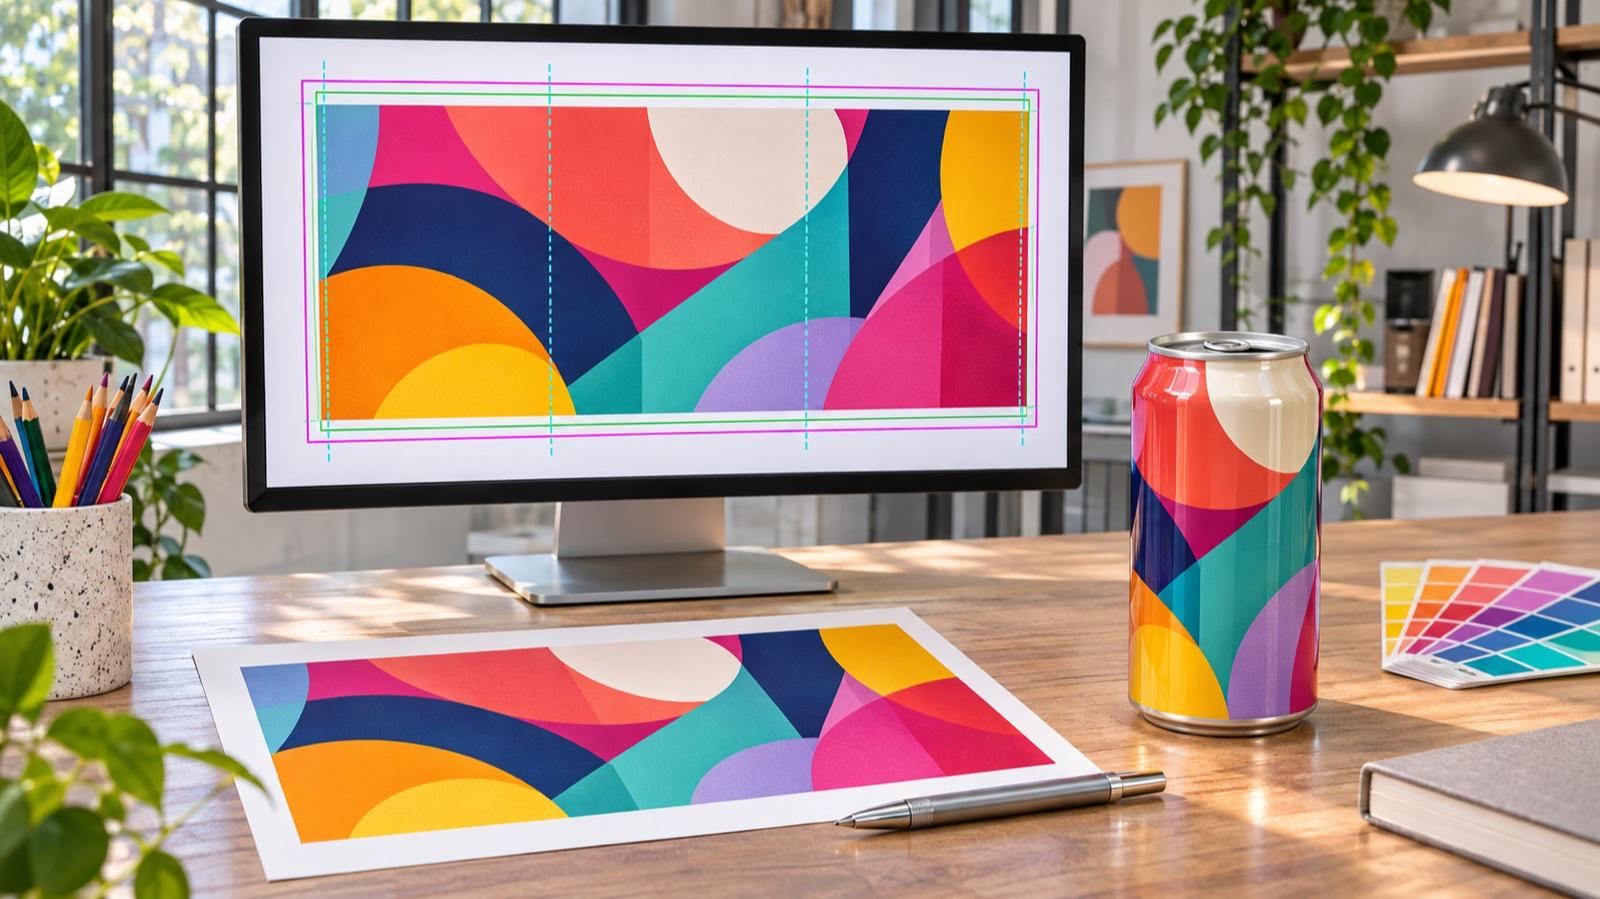
The design looked perfect on the big monitor. Then the proof came back and the logo was cut off at the seam, the tagline near the top looked soft, and the colors were duller than the screen version. Nobody did anything wrong on purpose. The art was simply built on the wrong canvas.
A can is not a flat poster. It is a cylinder that tapers at the neck, wraps 360 degrees and gets printed with inks that behave differently from a backlit screen. A good can design template solves most of that before you draw a single shape. This guide explains how a can dieline works, what bleed and safe zones mean on 12oz and 16oz cans, and how to export a file that clears proofing on the first pass.
What is a can design template?
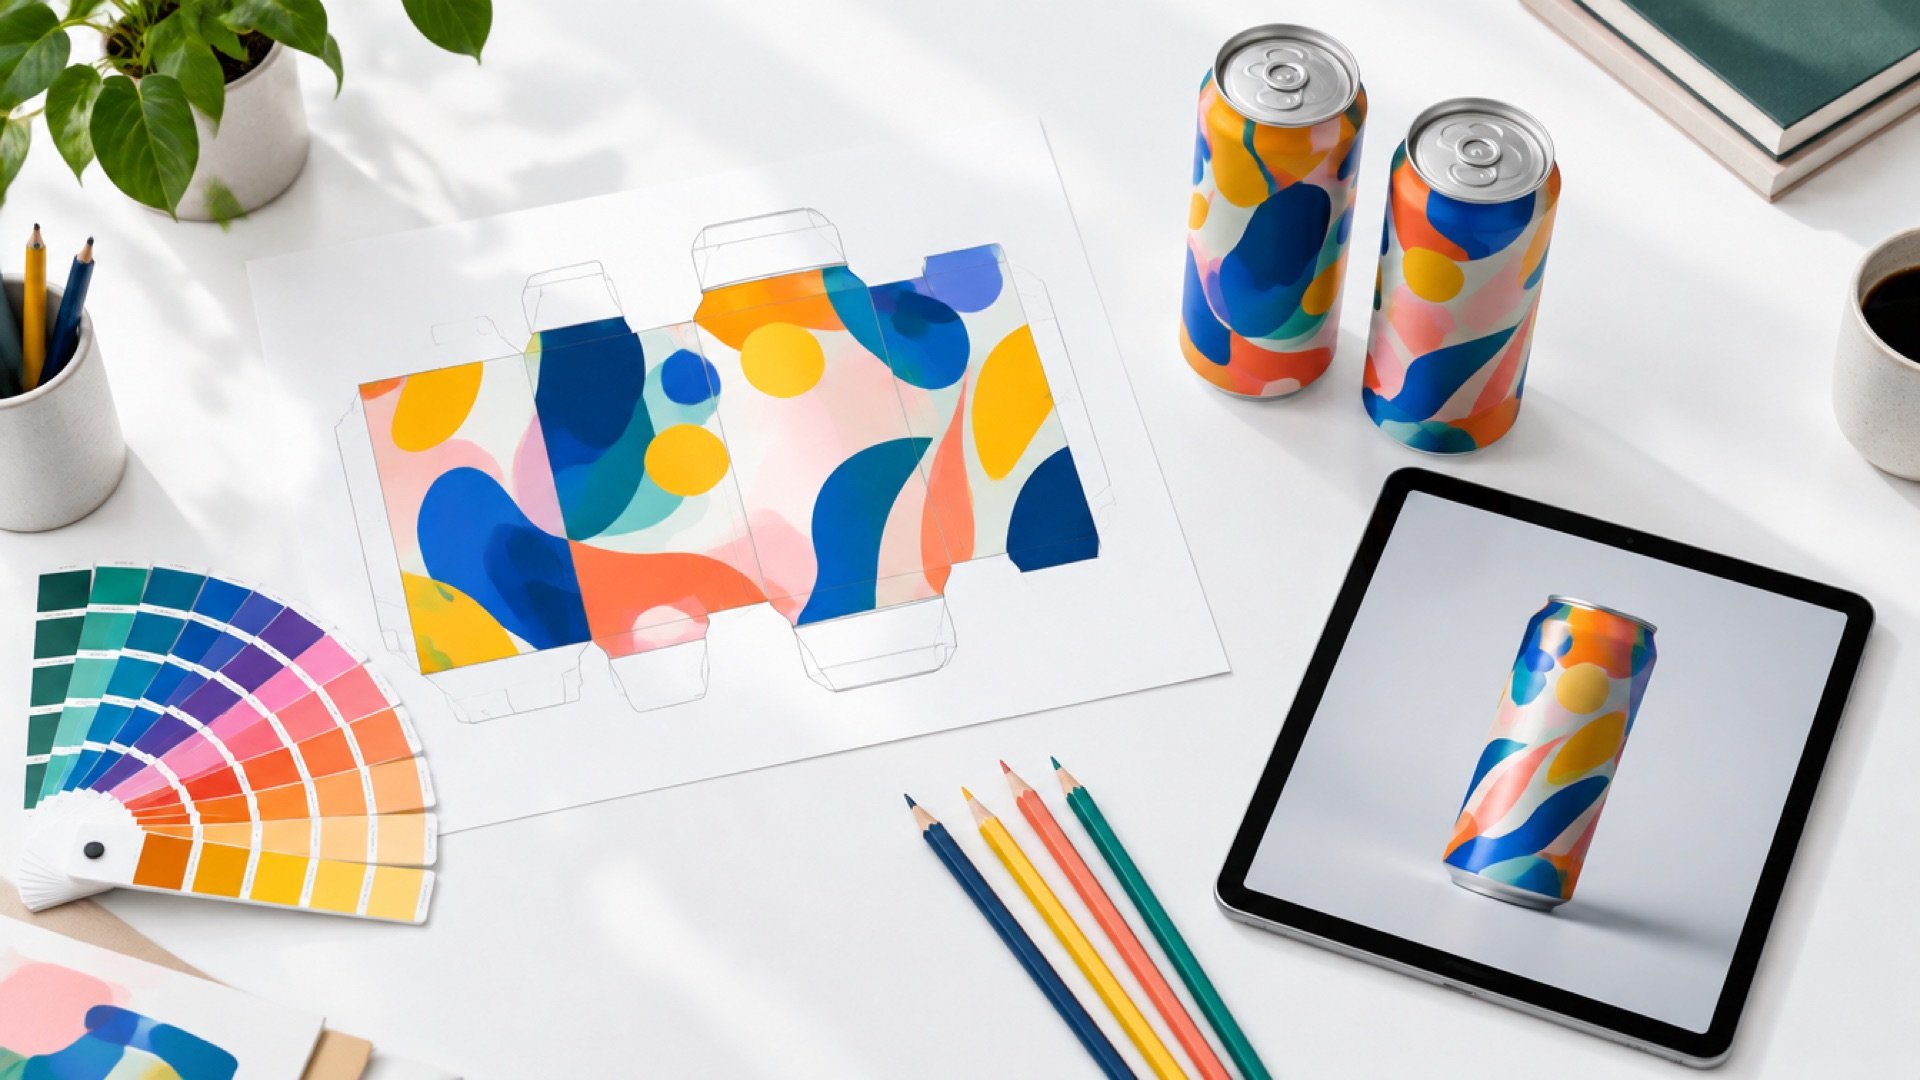
A can design template is a flat artboard sized to the printable wrap of a specific can, with guides that show where art can go, where it will wrap around the seam and where print quality drops near the neck. You design inside the template, then submit it as a print-ready PDF. It turns a curved can into a rectangle you can work on in Illustrator.
Each can size needs its own template. A 12oz slim can, a 12oz standard can and a 16oz can all have different heights and circumferences, so art built for one will not simply stretch onto another.
What is a dieline, and how is it different from a template?
A dieline is the outline that shows the exact printable shape and its boundaries. In packaging, it marks cut lines, folds and safe areas. On a printed can, the dieline shows the wrap area and the zones where art behaves differently. A template is the full working file that contains the dieline, plus notes, swatches and guides for that format.
In everyday conversation, designers use "can template" and "can dieline" to mean the same thing: the official artboard from your manufacturer. Always use the one your manufacturer provides. A generic dieline from a stock site may not match the exact can and printer your order runs on.
Download the right template for your can size
We Can It offers official artwork templates for the three formats we run most. You can download them from our artwork templates page.
- 12oz slim (tall), 355 ml. A taller, narrower silhouette that looks elegant at a bar or table.
- 12oz standard, 355 ml. The classic can footprint most people picture.
- 16oz standard, 473 ml. More volume and a larger wrap for bold graphics.
Pick the size first, then design. Changing the can size after the art is finished almost always means rebuilding the layout, because the proportions change.
How bleed works on a 360 degree can
On flat print, bleed is extra art past the trim line so you never see a white edge. On a full-wrap digitally printed can there is no trim, but the same idea applies: you extend your graphics beyond the artboard so the wrap is covered edge to edge.
What that means in practice:
- Extend backgrounds and patterns past the artboard edges. Do not stop color exactly at the line.
- Do not add crop marks or bleed settings in your export. The template already defines the print area.
- Plan for the seam. The left and right edges of the artboard meet when the art wraps. Keep logos, faces and text away from that join so nothing important is split.
A quick test: print your flat art, roll it into a tube and tape the edges together. If something important lands on the join, move it.
The neck zone: why the top of the can needs extra care
The top of the can, where it tapers toward the lid, is called the neck or warping zone. Digital can printers use inkjet heads, and the neck sits farther from the nozzles than the straight body. Detail there prints with less definition.
Rules that keep the neck clean:
- Keep the top area of about 4 mm empty on standard formats whenever you can.
- If you must place copy there, use at least 7 pt type.
- Avoid fine lines, small icons and intricate patterns near the neck.
- Put your logo, product name and QR code on the main body, where print is sharpest.
Our template marks the neck zone so you can see it while you design.
Safe zones for text, logos, barcodes and QR codes
Your most important elements should live in the straight body of the can, away from the seam and the neck. The template shows the safe area. These are the main rules from our template:
- Body text: minimum 5 pt on the final can.
- Barcode: black and white, in a vertical position. A UPC-A barcode should be at least 0.85 inches tall by 1.5 inches wide when used.
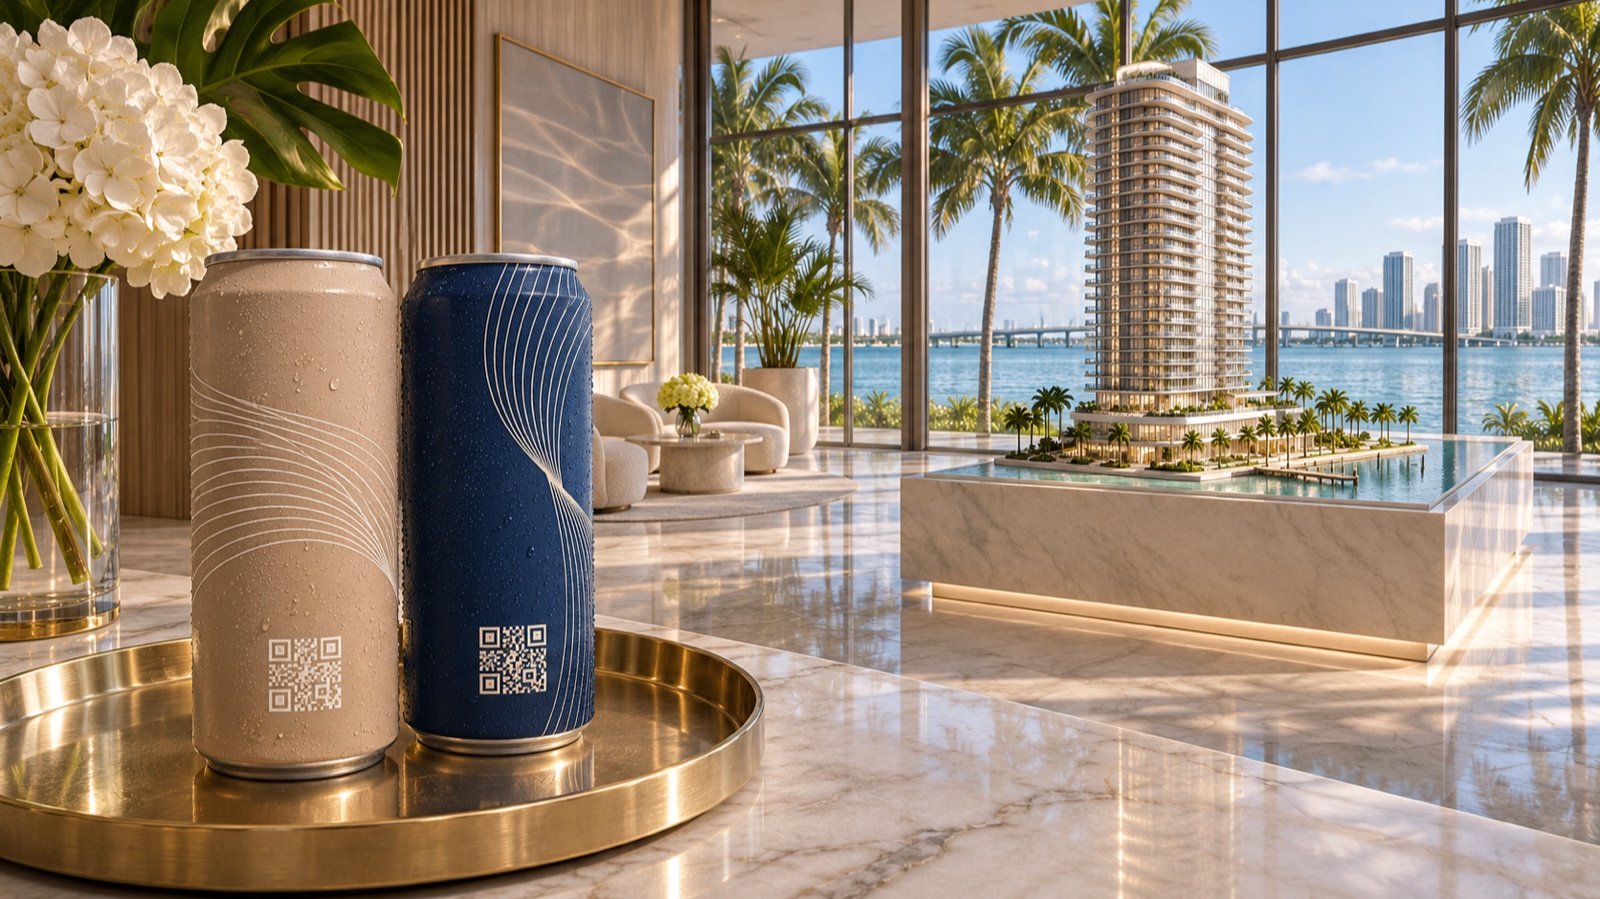
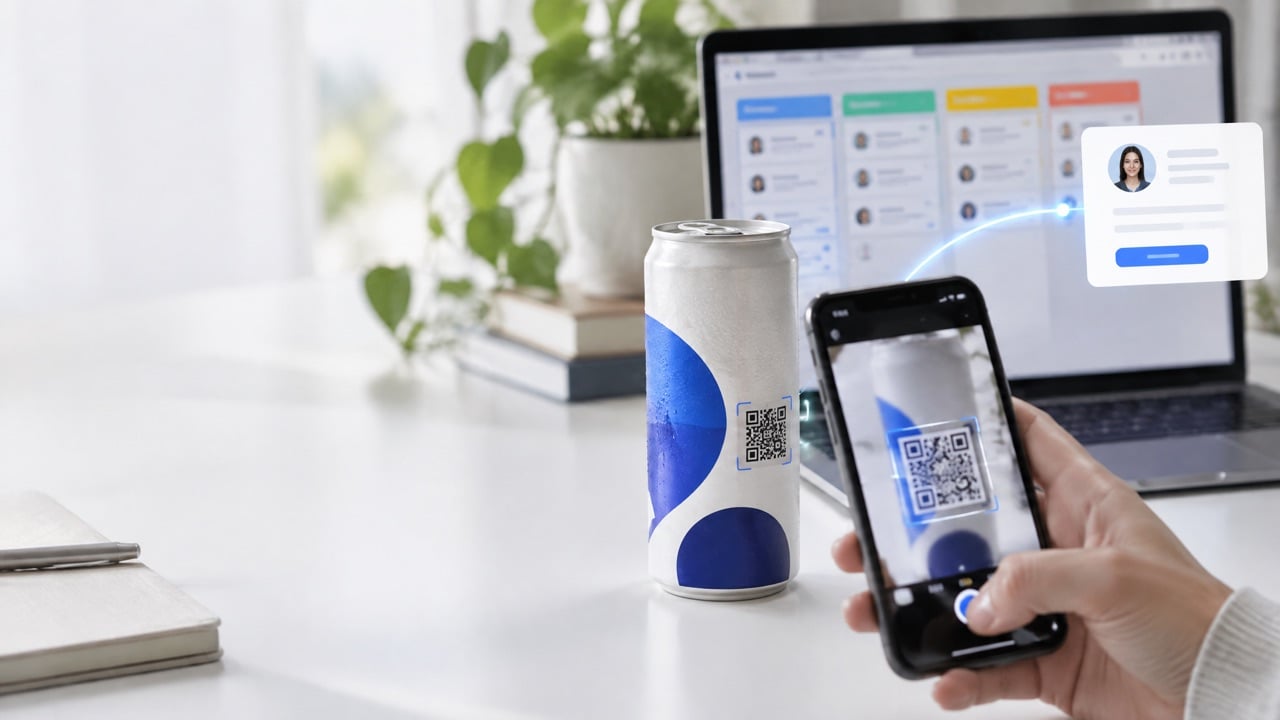
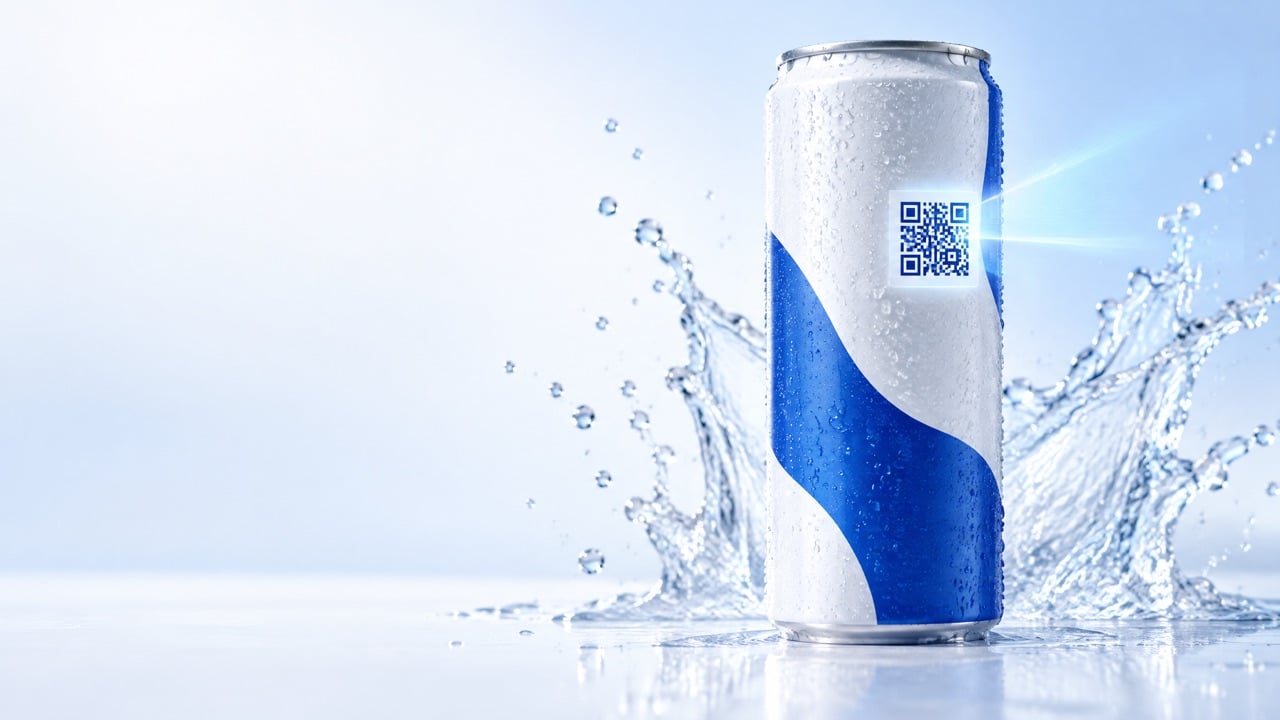
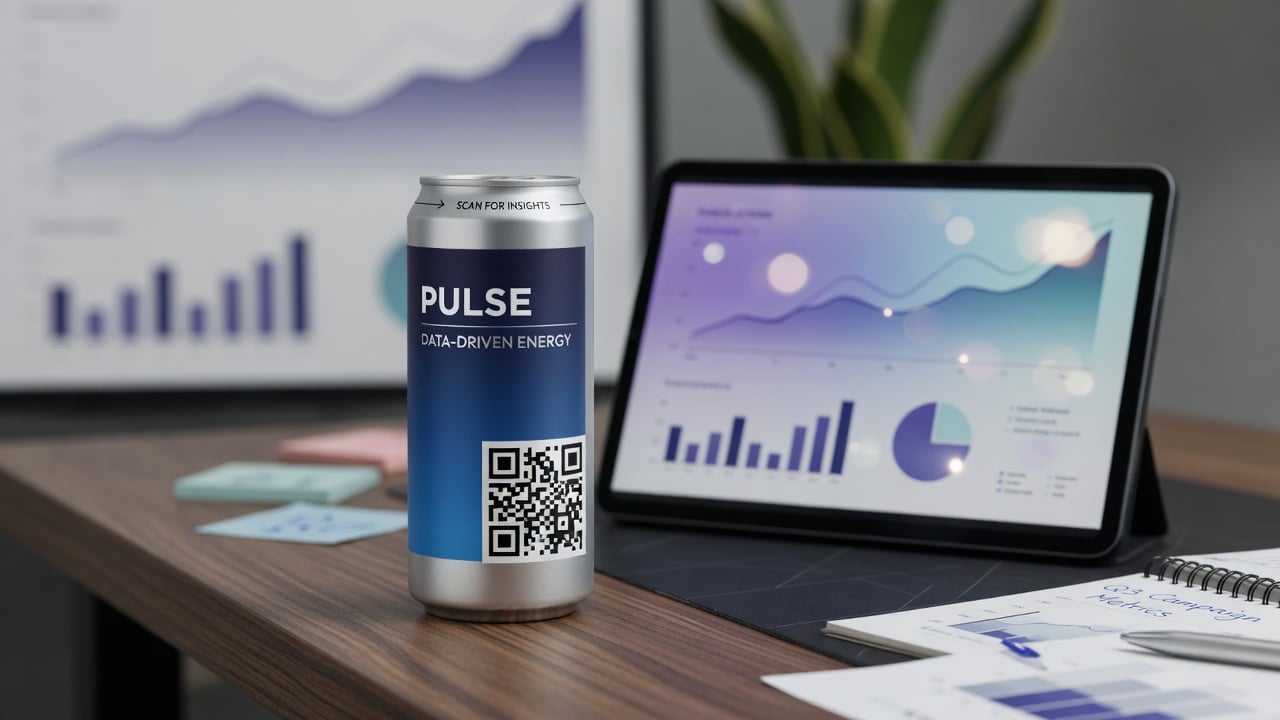
- QR code: place it on the flat body, with good contrast and enough quiet space around it so phones can scan it. A QR code is included on our cans at no extra cost.
- Orientation: heads up. The can code appears on the artboard margin of the template, so you know which way is up.
If your can needs required label information, such as the product name or net contents, plan space for it early rather than squeezing it in at the end. Our team reviews the layout during proofing.
File specs: color, fonts and images
Most proof delays come from a handful of file issues. Get these right and your art moves straight to approval.
- CMYK only. Do not submit final art in RGB. Screens display RGB, but printers use CMYK inks, and RGB art can shift when converted.
- Outline or vectorize all fonts. In Illustrator, select all text and use Type, then Create Outlines. This prevents missing font errors.
- Embed all images. Linked images can go missing when the file is sent.
- Use 300 to 800 DPI for photos. Our digital print on aluminum runs at about 300 dpi, so low-resolution images will look soft.
- Prefer vector logos and line work. Vector art stays sharp at any size.
- Avoid transparency effects that do not flatten cleanly. Complex blends and shadows can print unexpectedly.
Finishes: gloss, matte and metallic effects
Finishes add depth and a premium feel. Here is how to set them up in the file:
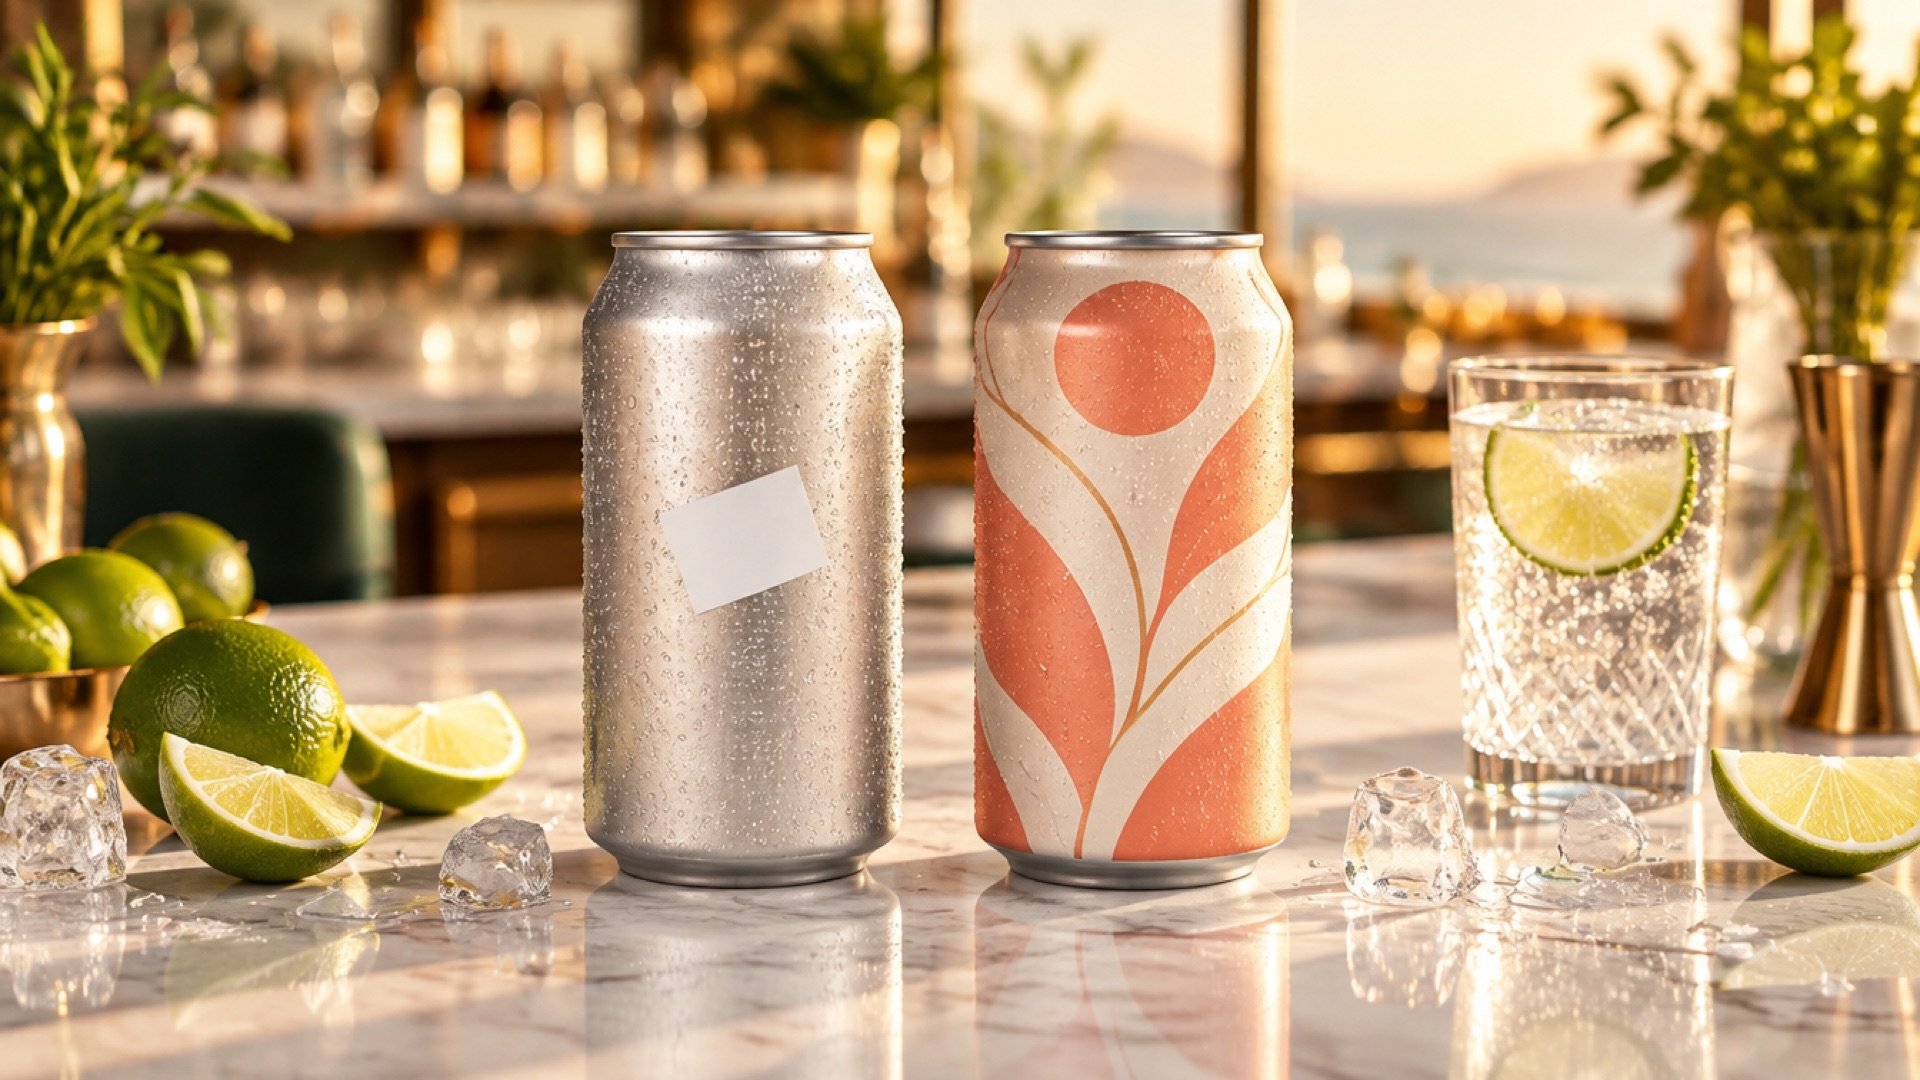
- Overall gloss or matte: no special action in the file. The finish is confirmed on your quote.
- Selective gloss: copy the gloss elements to a new layer and apply the template's gloss swatch.
- Metallics: copy the metallic elements to a new layer and apply the template's metal swatch.
Keep the layer structure intact when you export, so the finish layers reach our production team the way you built them.
How to export a print-ready PDF
Once your design is ready, export it like this:
- Save as a High Quality Print PDF. The Illustrator default print preset is fine.
- Save without crop marks or bleed settings.
- Export one design per PDF. One SKU per file. Several designs in one file may be rejected or delayed.
- Keep layers intact if your design uses finish layers.
- Name the file clearly, for example with your brand, can size and flavor or water type.
Then submit the PDF with your quote or design session. We send a digital proof, you approve it and production starts in Miami.
Designing in Canva? Read this first
Canva is great for concepts and quick mockups, but production digital can print is built on CMYK vector files. If your team designs in Canva:
- Download our template for your can size and create a custom Canva canvas at the same proportions, or use the template as a locked background guide.
- Keep logos and type large enough, with at least 5 pt on the body and about 7 pt if anything sits near the neck.
- Export at the highest quality available, then have a designer place the art into the official Illustrator template, convert to CMYK, outline fonts and export a single-page PDF.
A Canva RGB export by itself is not press-ready. We will ask for a CMYK, template-based PDF before production.
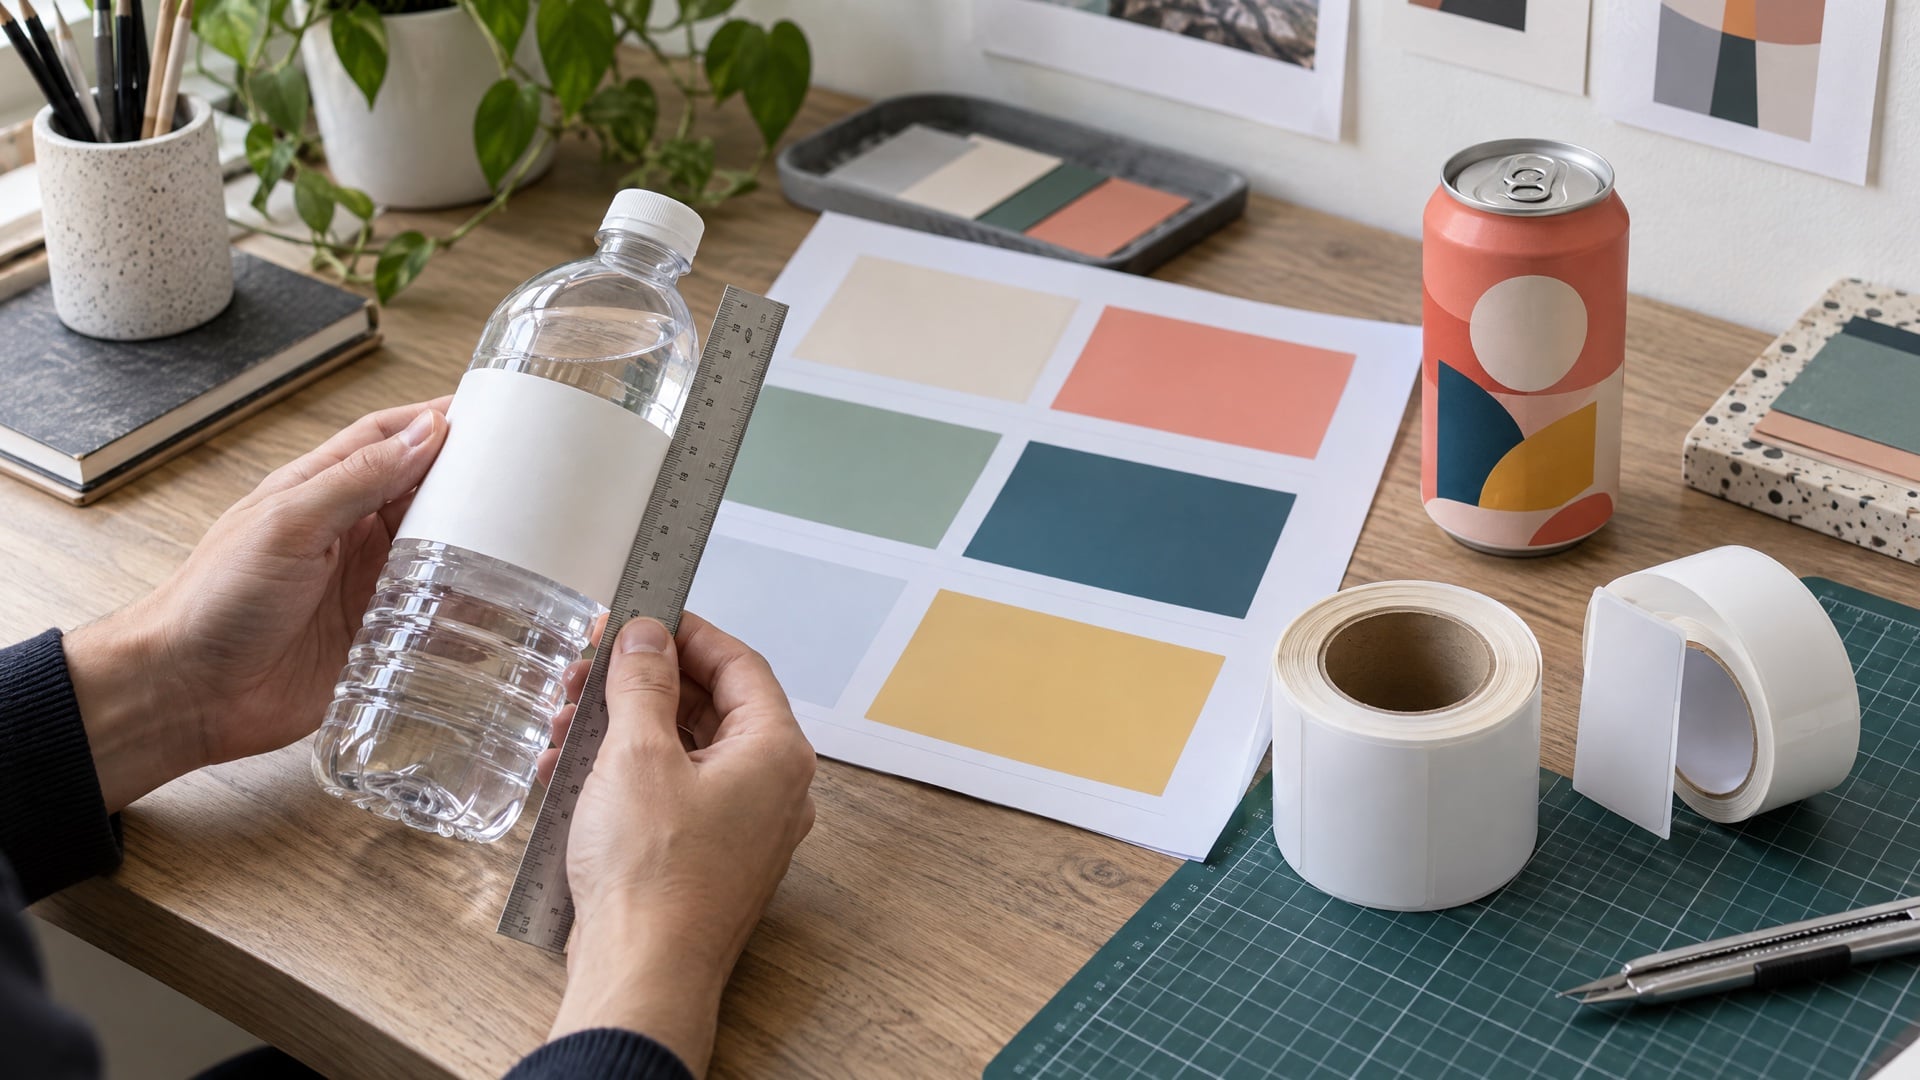
What about labeled cans?
Not every program needs digital print directly on the aluminum. Labeled cans use a printed label applied to the can, and they start at just 10 cases (240 cans, 24 cans per case). Digital print on the aluminum starts at 21 cases (504 cans). Lead times differ too: labeled cans can be ready in 3 weeks, and digital print takes 4 weeks.
Label art follows a different layout from a full-wrap digital print, so do not reuse one file for the other. If you are ordering labels, our team sends the template for your label size along with your quote. You can compare both print paths on our packaging page.
Common can design mistakes to avoid
- Designing on a flat poster canvas instead of the official template.
- Putting a logo or QR code across the seam.
- Placing small text or thin lines in the neck zone.
- Submitting RGB files with live fonts and linked images.
- Using low-resolution photos pulled from a website.
- Sending several designs in one PDF.
- Choosing the can size last.
For the creative side, such as color, contrast and how to make a can look great in photos, read our custom water can design tips. This guide covers the technical file setup.
How do I order private-label water with custom artwork?
Ordering private label water with your own artwork takes five steps with We Can It:
- Request a quote with your can size (12oz or 16oz), water style (still, sparkling or alkaline), quantity and delivery date. Labeled cans start at 10 cases (240 cans); digital print on the aluminum starts at 21 cases (504 cans).
- Download the template for your can size from our artwork templates page, or send your logo and we will lay it out.
- Send print-ready artwork, ideally a vector PDF built on the template, following the bleed and safe zone rules in this guide.
- Approve the proof. Our team sends a digital proof of your can. Production starts only after you sign off.
- Production and delivery. Labeled cans can be ready in 3 weeks; digital print takes 3 weeks for printed labels or 4 weeks for digital print. Cases ship nationwide from Miami, with freight billed at cost.
A QR code can be added to every can at no extra cost. Price your order in the instant quote calculator.
Frequently asked questions
How do I order private-label water with custom artwork?
Request a quote, download the can template, send print-ready artwork, approve the proof, then production starts. With We Can It, labeled cans with your artwork can be ready in 3 weeks and digitally printed cans in 4 weeks, from 10 cases (240 cans).
Where can I download a can design template?
You can download official We Can It templates for 12oz slim, 12oz standard and 16oz cans from our artwork templates page. Use the template that matches the exact can size on your order.
What is the difference between a can template and a can dieline?
A dieline is the outline of the printable area and its boundaries. A template is the full working file that contains the dieline plus guides, swatches and notes. Most designers use the terms interchangeably when they mean the official artboard from the manufacturer.
Do I need bleed on a can design?
On a full-wrap digitally printed can, you do not add crop marks or bleed settings. Instead, extend backgrounds and patterns beyond the artboard edges so the wrap is fully covered.
What resolution should can artwork be?
Use vector art wherever possible and 300 to 800 DPI for photographic images. Our digital print on aluminum runs at about 300 dpi, so lower-resolution images will look soft.
Can I design my can in Canva?
You can use Canva for concepts, but final production files must be CMYK PDFs built on the official template with outlined fonts. A designer can move a Canva concept into the Illustrator template.
How long does it take to print a custom can?
After artwork approval, labeled cans can be ready in 3 weeks and digital print on the aluminum takes 4 weeks. Clean files are the fastest way to keep that schedule.
Get a quote and a free can template
A good template saves days of back and forth. Download the right one for your can size, follow the rules above and send us your PDF. A product advisor will review your file, send a proof and help you choose the right print path.